
All manual transmissions suffer from shifter play as the plastic shift linkage parts wear out. The 928 is no different with nearly 6 feet of shift linkage with pivots at the front middle and rear of the car they all tend to wear out.
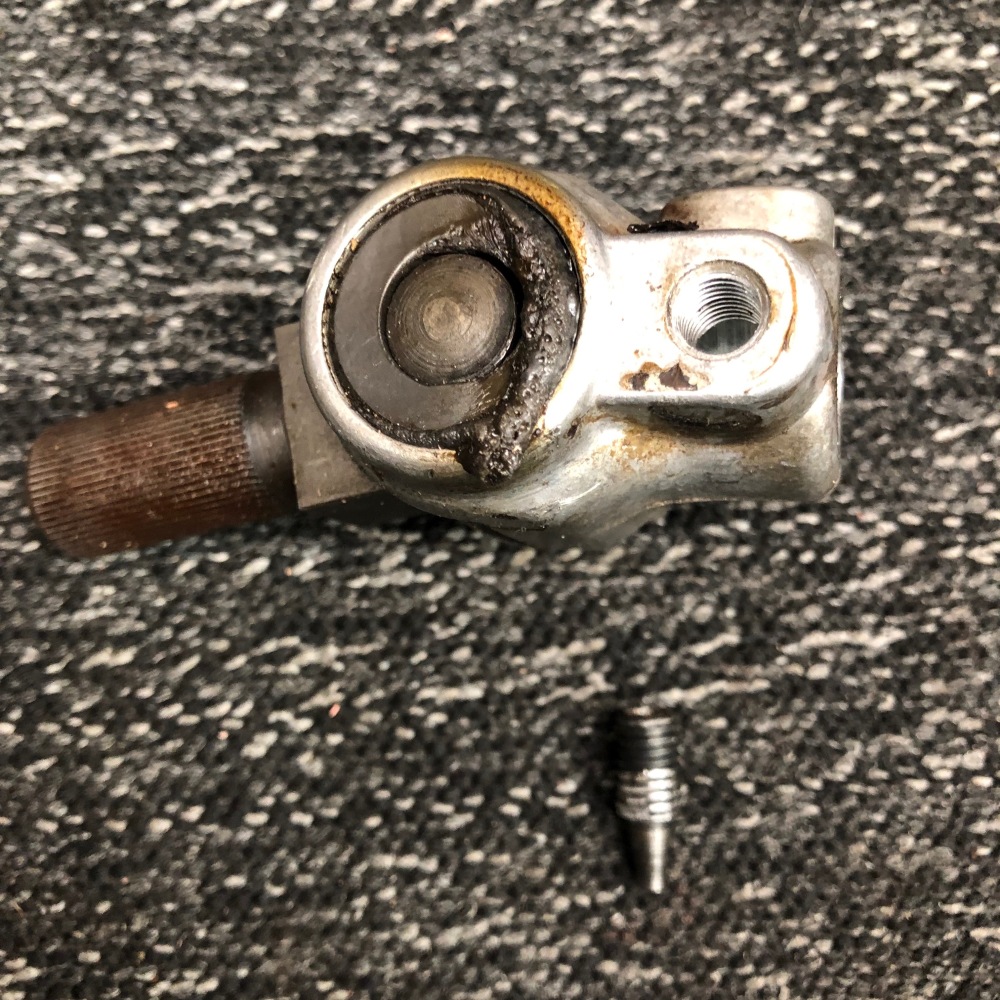
While my shifting wasn’t terrible, I decided to replace the rear bushing since the car was up in the air for winter projects. The rear shift linkage is connected to a coupler with two nylon bushing press into it. The coupler is known to be a common wear point and particularly problematic because the set screw (aka Grub Screw) is often stripped when tying to remove it. The screw was installed by the factory using seriously strong Locktite and heat is required to remove it.
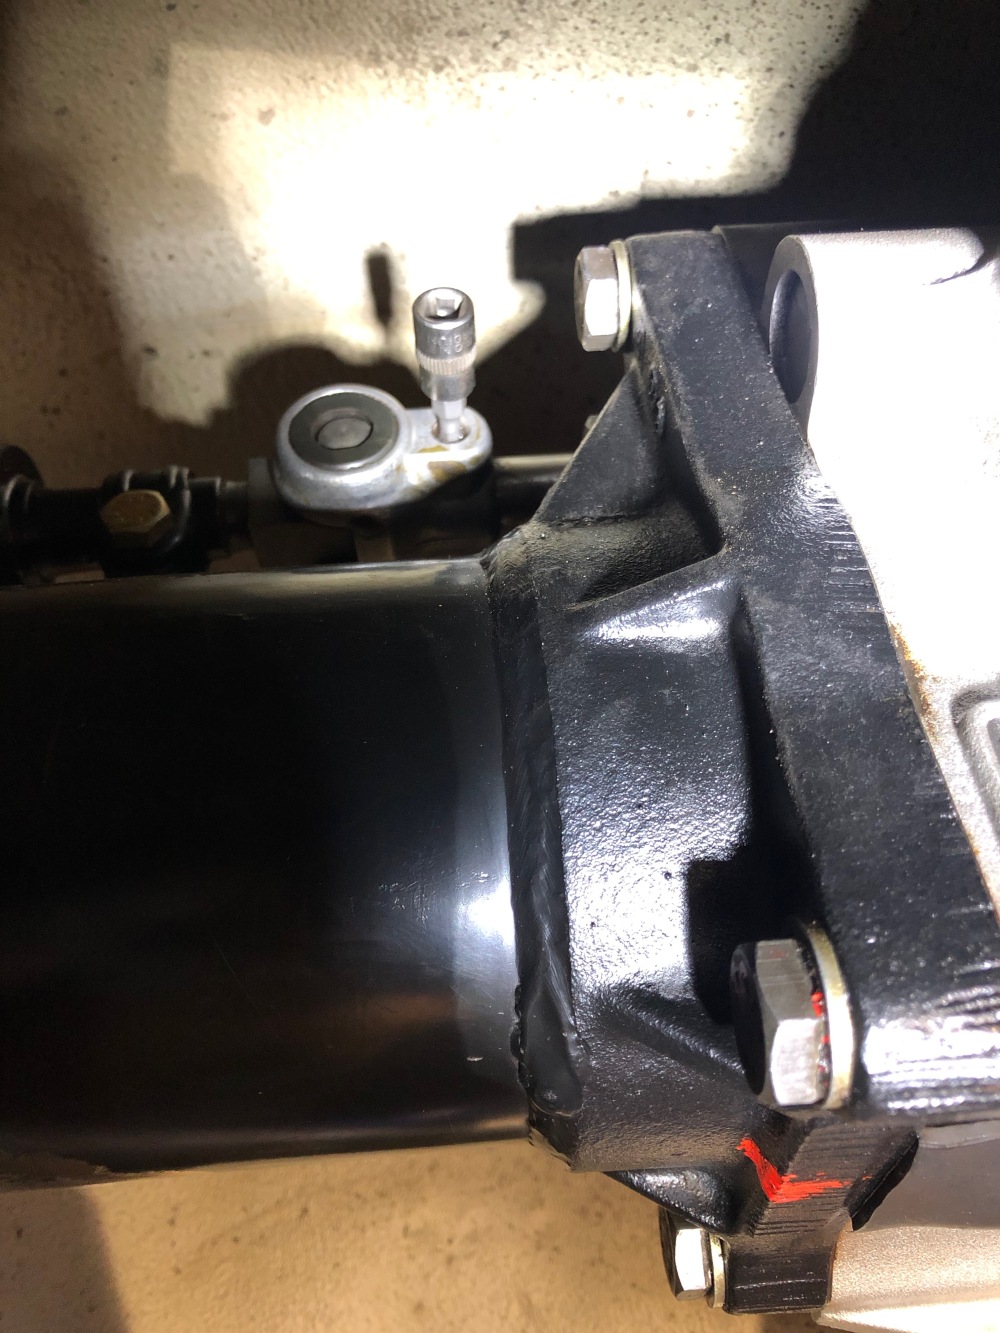
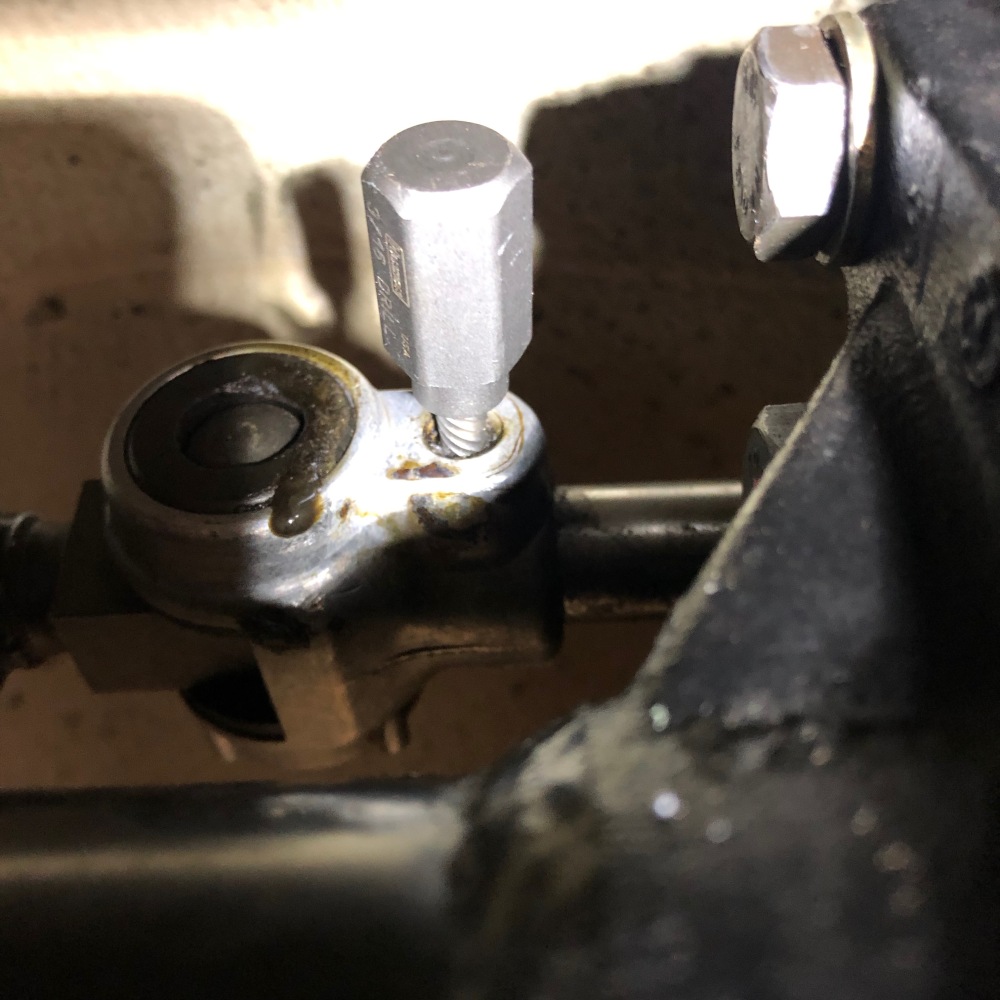
On my car the grub screw looked previously mangled so I was expecting trouble. I was able to get my 4mm allen socket pounded into the screw (see below) so I decided I would see if I could get it out using conventional tools, but first, lets add some heat.
Since I was planning on using a propane torch I wanted to protect areas from unwanted heat. I fashioned a heat shield using some old duct work.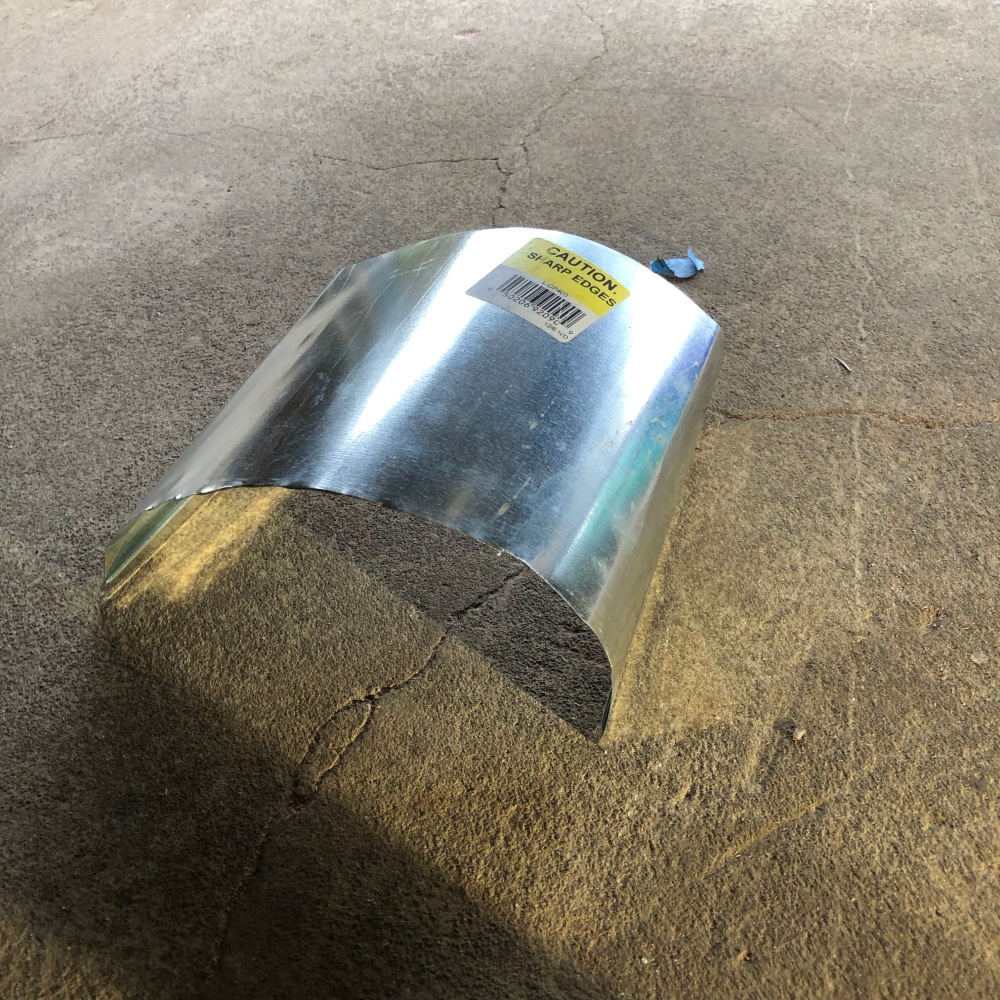
And draped the heat shield above the area to protect the undercoating.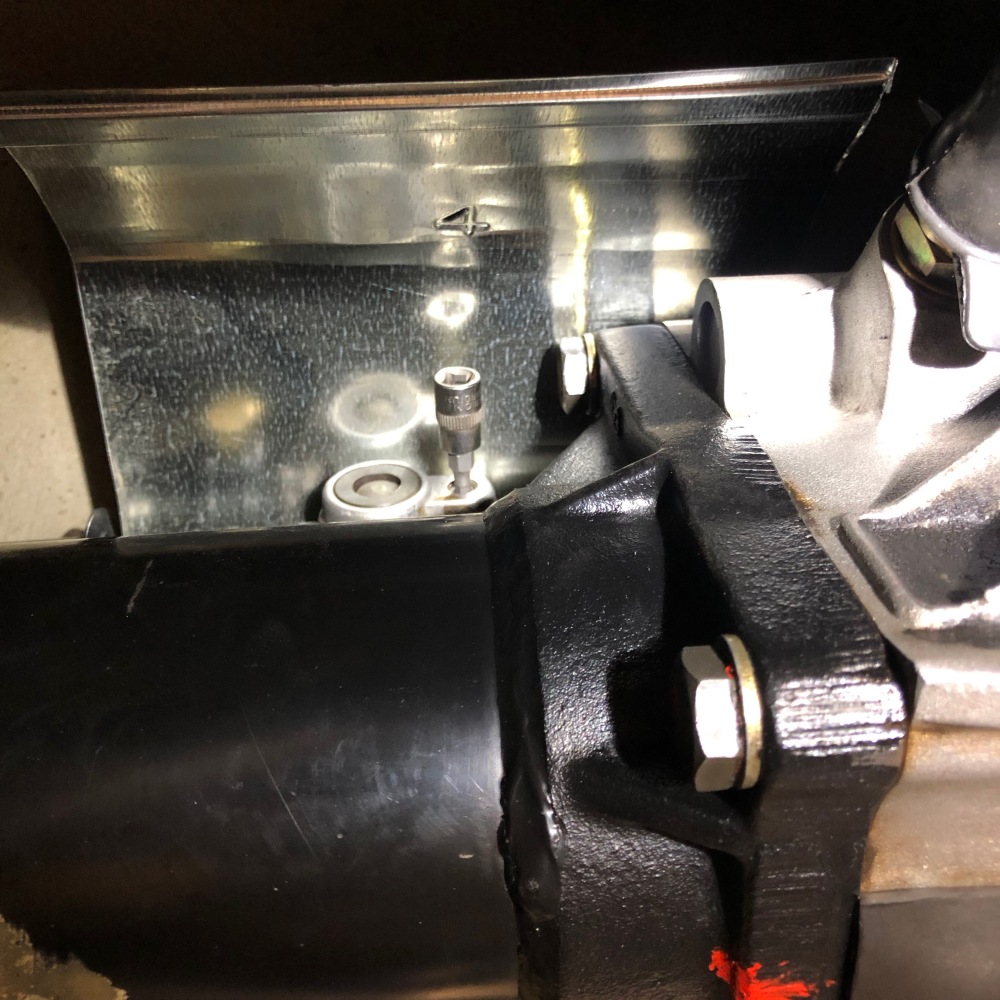
Next time to torch the area. I heated it until the entire assembly was hot to touch. I could see the locktite bubbling out of the treads, which was a promising sign.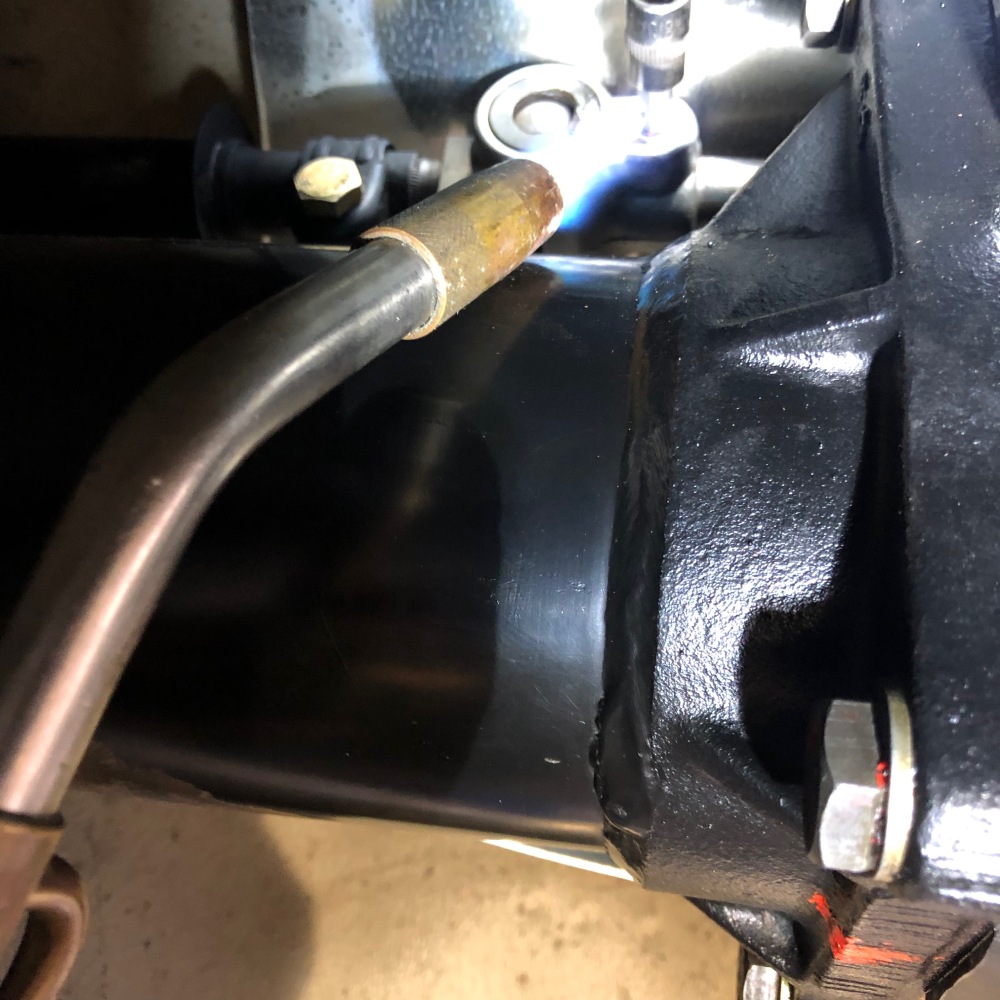
After it had cooled a bit I tried to remove with the allen socket. I was able to put about 10nm of torque on the bolt (7nm is the installation spec) and then the head gave way stripping the socket head.
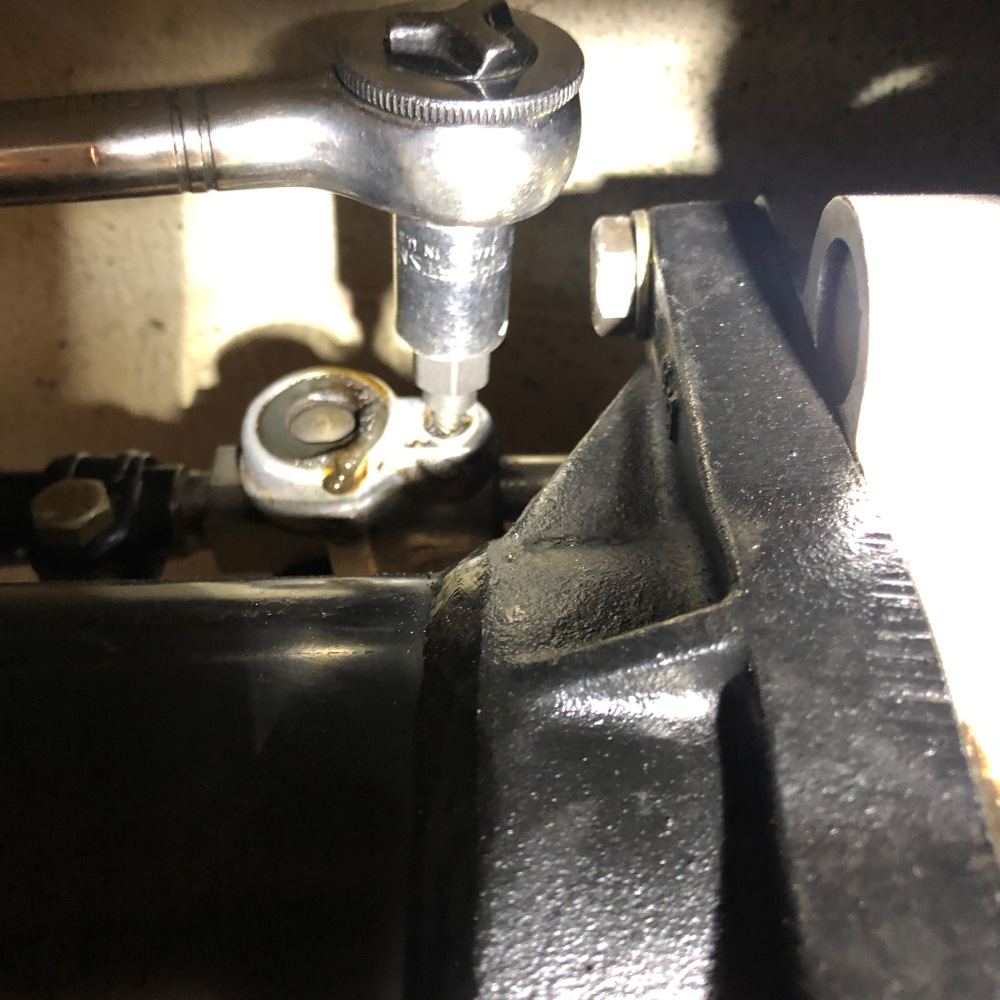
Fortunately, I have a couple different bolt extractors and I was able to find one that fist tightly into the stripped hole. I was able to seat it by giving it some taps with a hammer with helped drive it in.
 Once seated, I was able to apply more torque with a socket wrench being careful to let the tool continue to dig into the metal as I turned it.
It took a lot of force, maybe 20nm before the grub screw started to turn and it wasn’t easy once it did turn. It was stiff all the way out. Here you can see the grub screw partially extracted.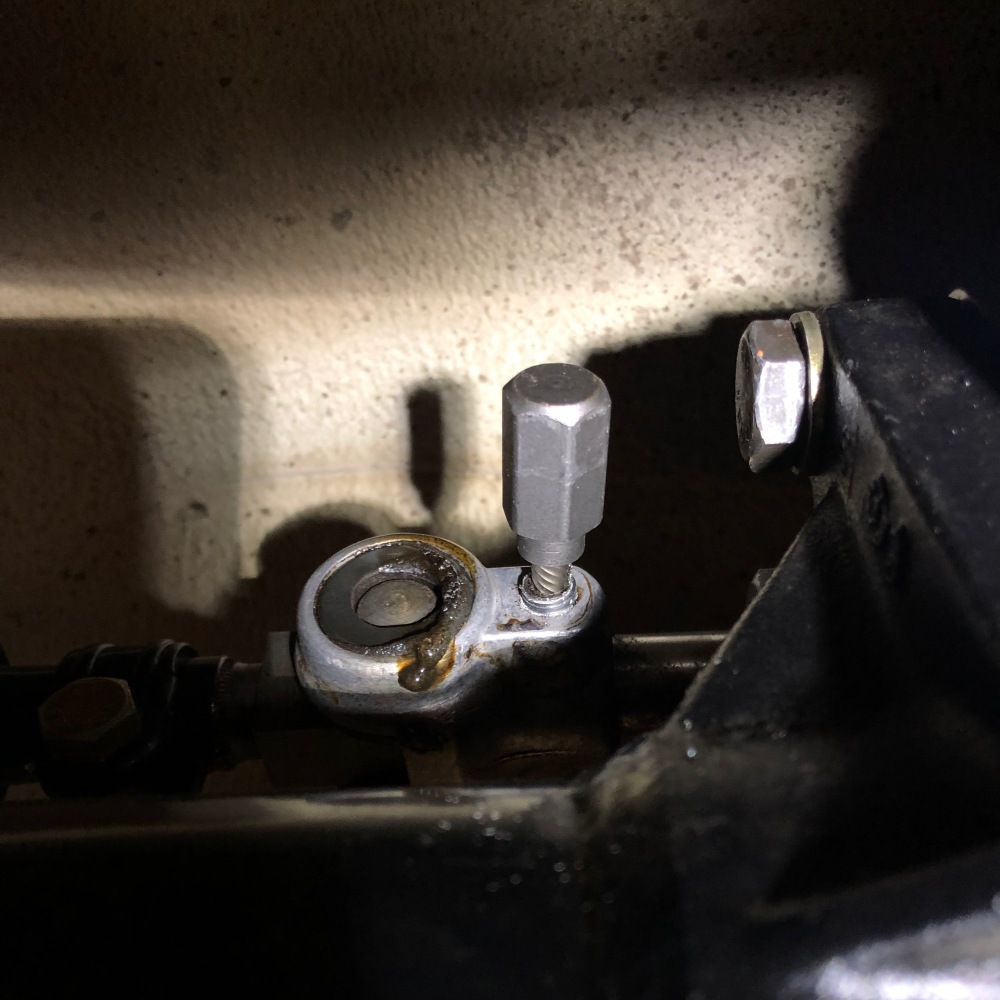
In the end the screw came out. Here you can see some of the screw extractors I was using. These are Irwin Socket head screw extractors.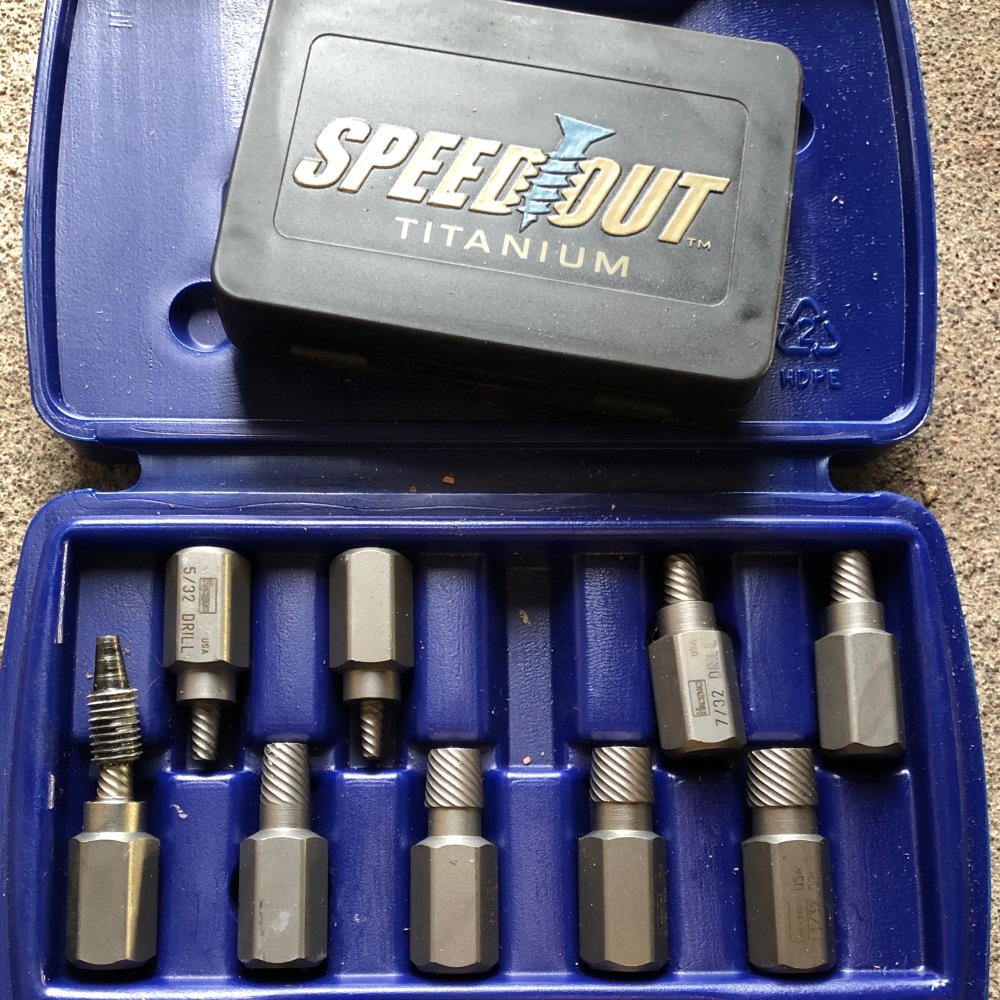
The reason the screw was so hard to remove is because it was tearing the aluminum out as well. You can see the aluminum shards stuck in the threads of the grub screw. This coupler is toast!
Fortunately, I had a spare coupler assembly ready to go, all I need to do was install new bushings.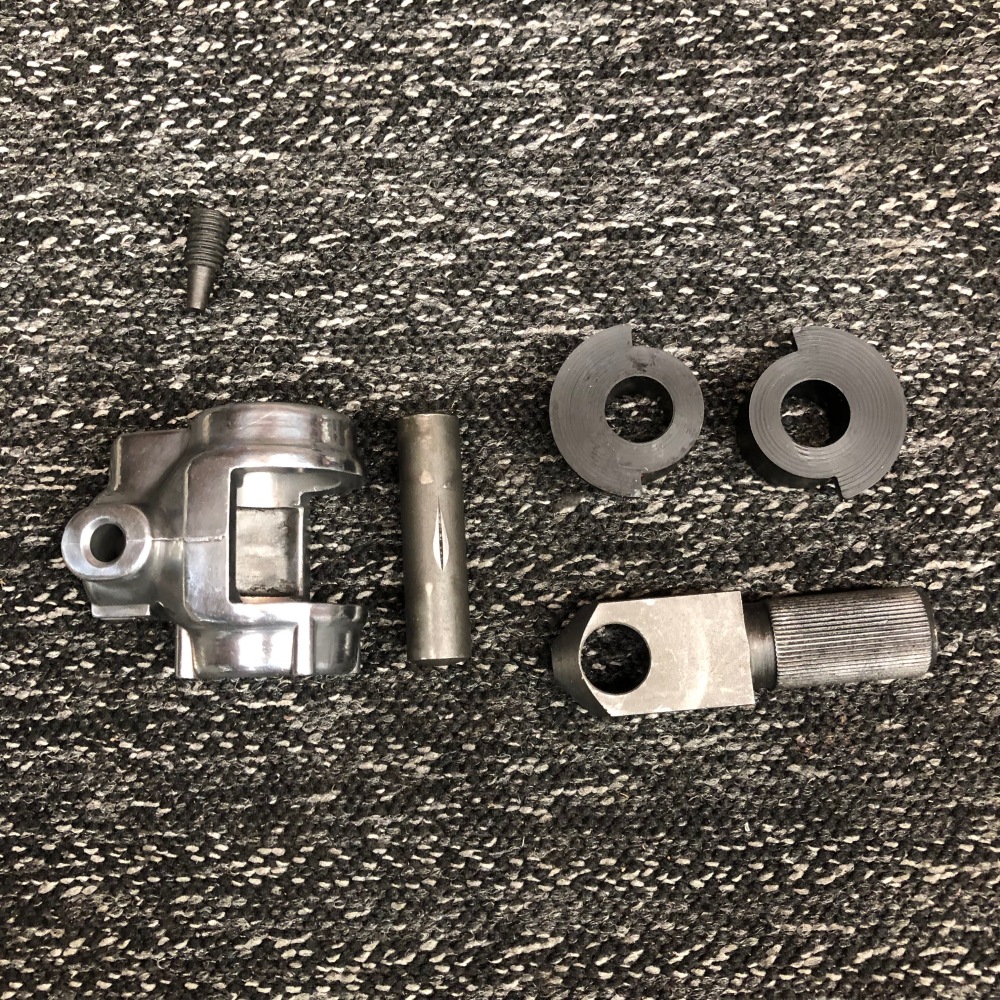
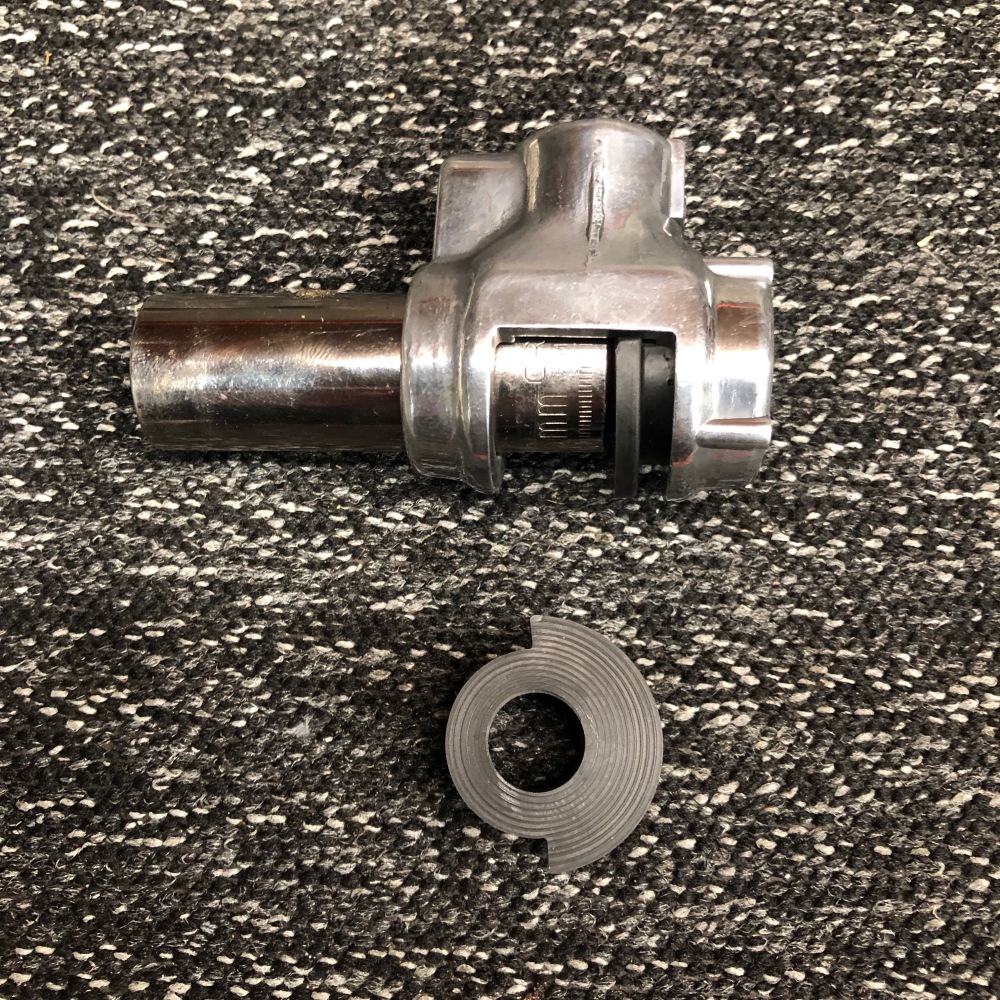
The bushings simply press into the body. You need to be creative in coming up with ways of seating the bushings.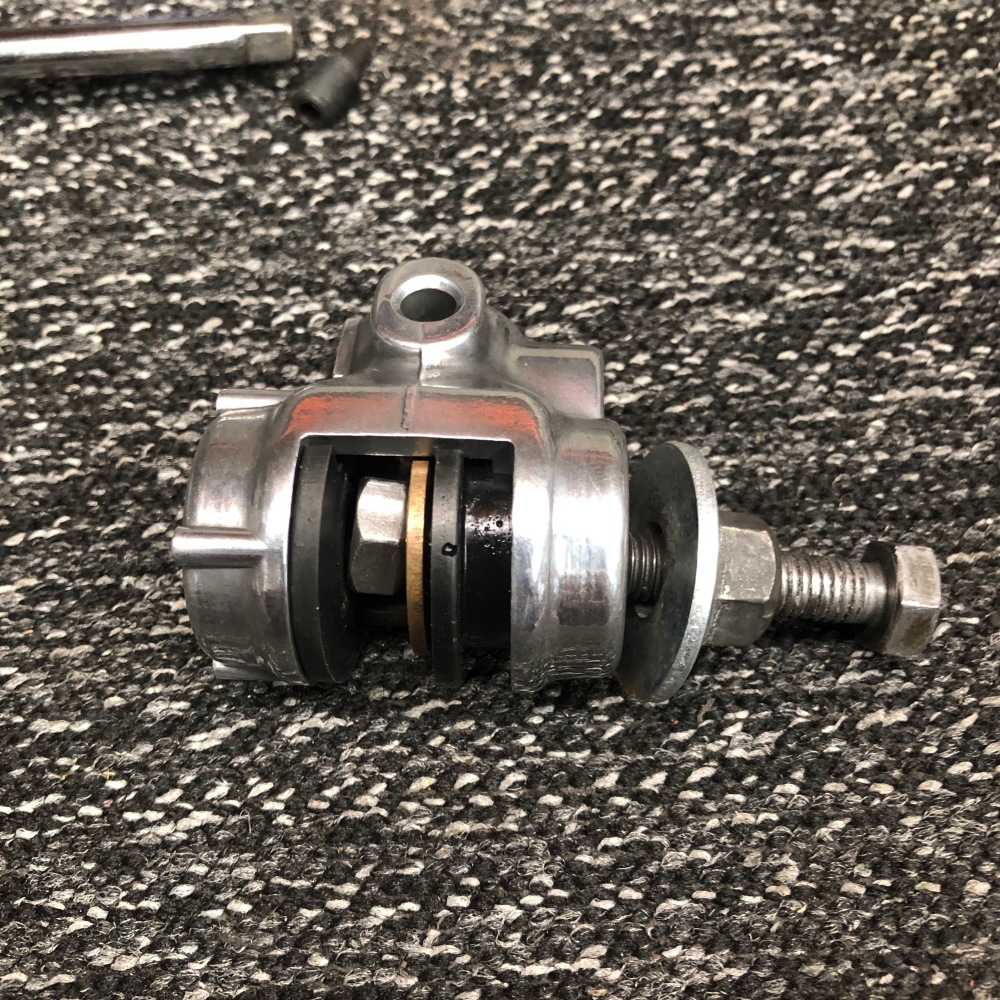
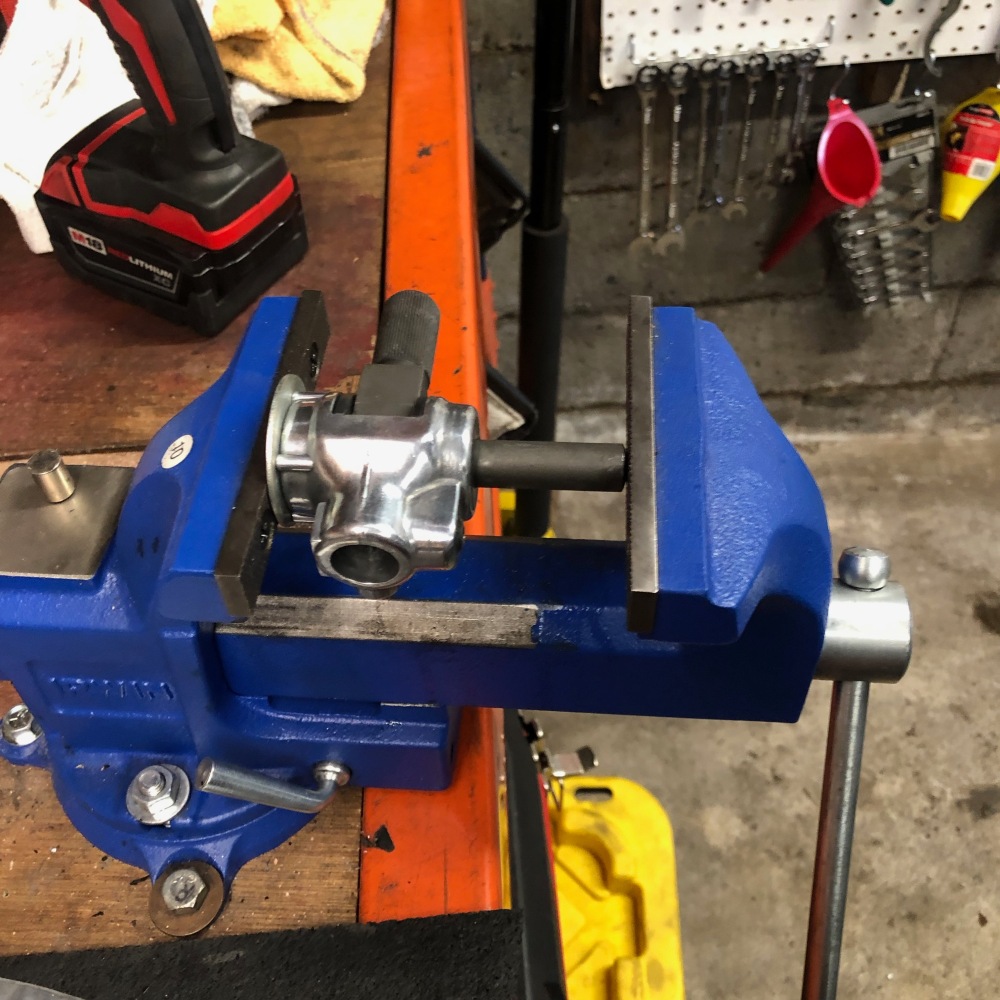
With the bushings installed time to press fit the pivot shaft. I used a washer and a vise to press it all back together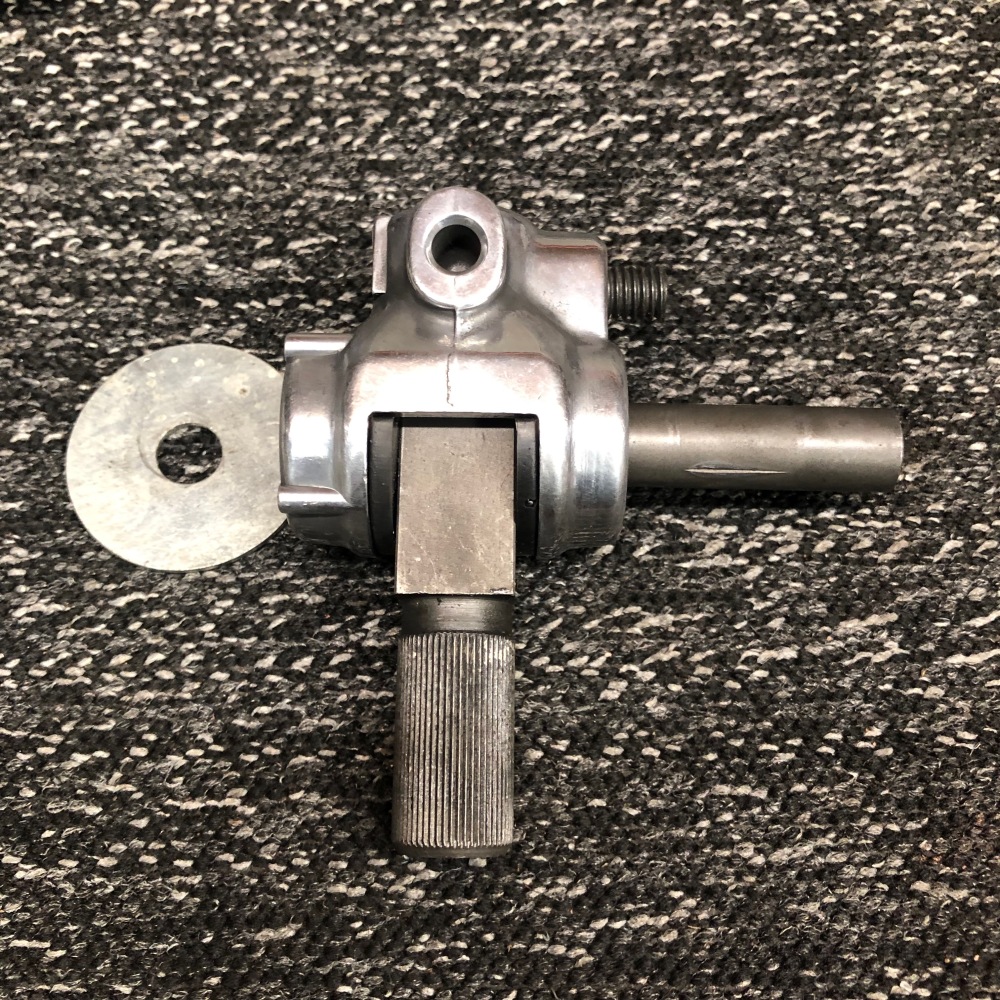
Ready to install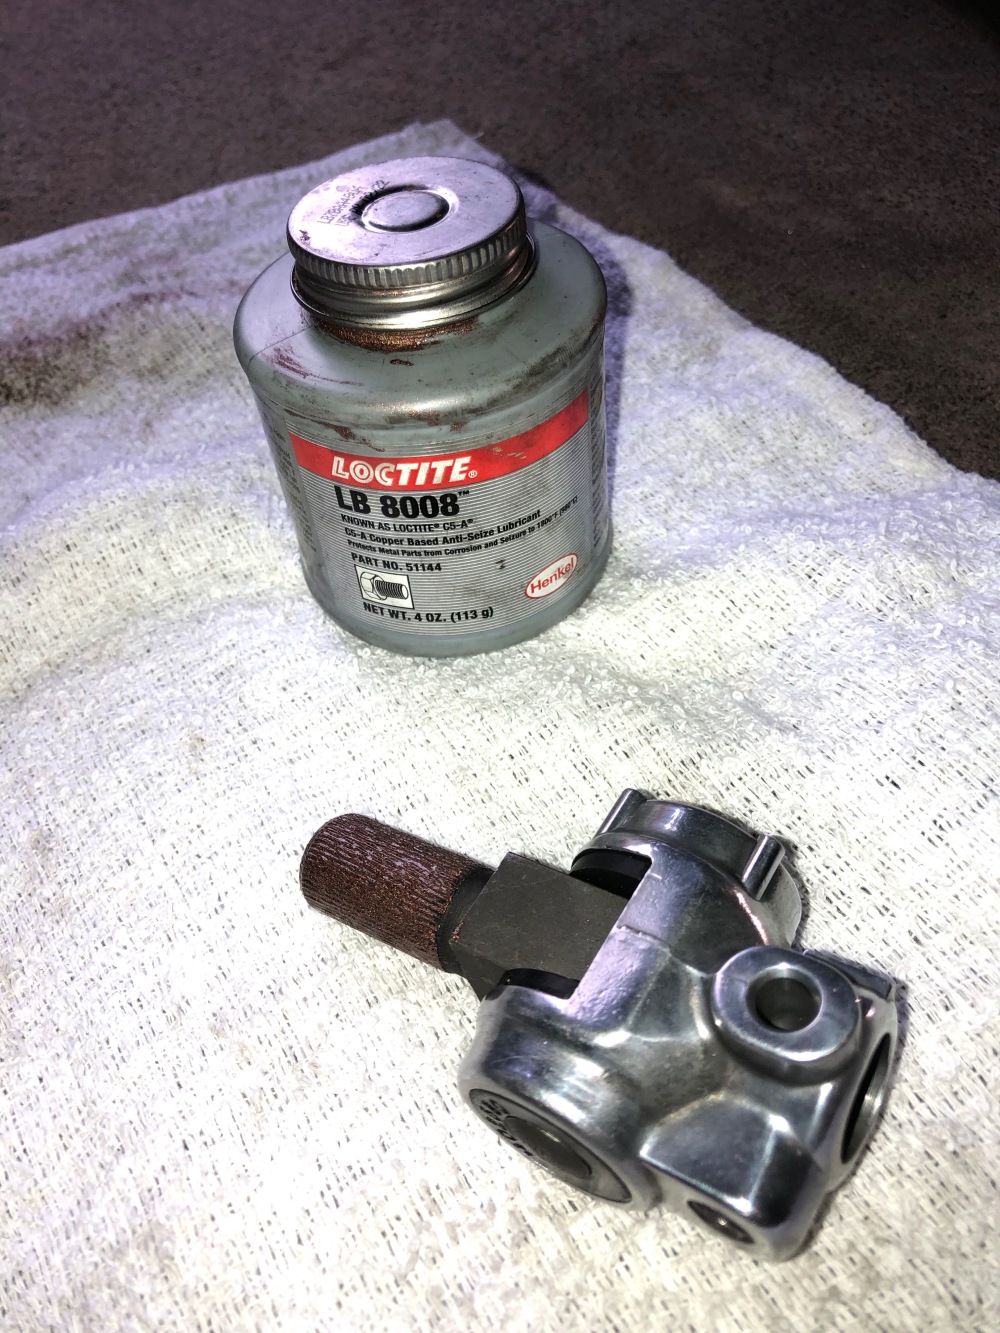
And of course once I had it installed, I realized I forgot to reinstall the boot. I think I will wait until I order a new boot next time the car is up in the air.
